Oak demilune (continued)
Rough cuts
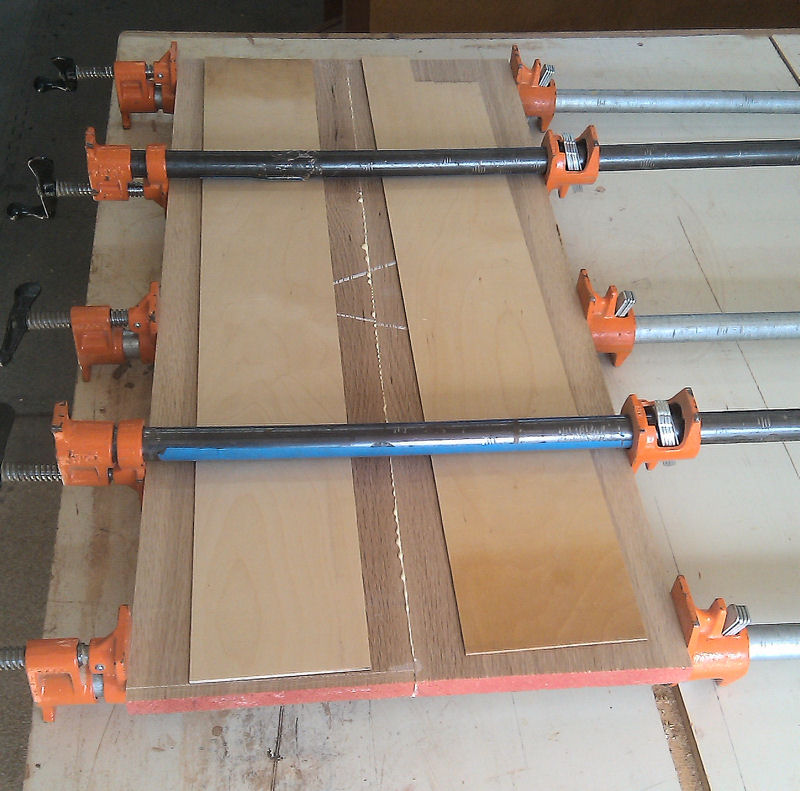
Top being glued up.
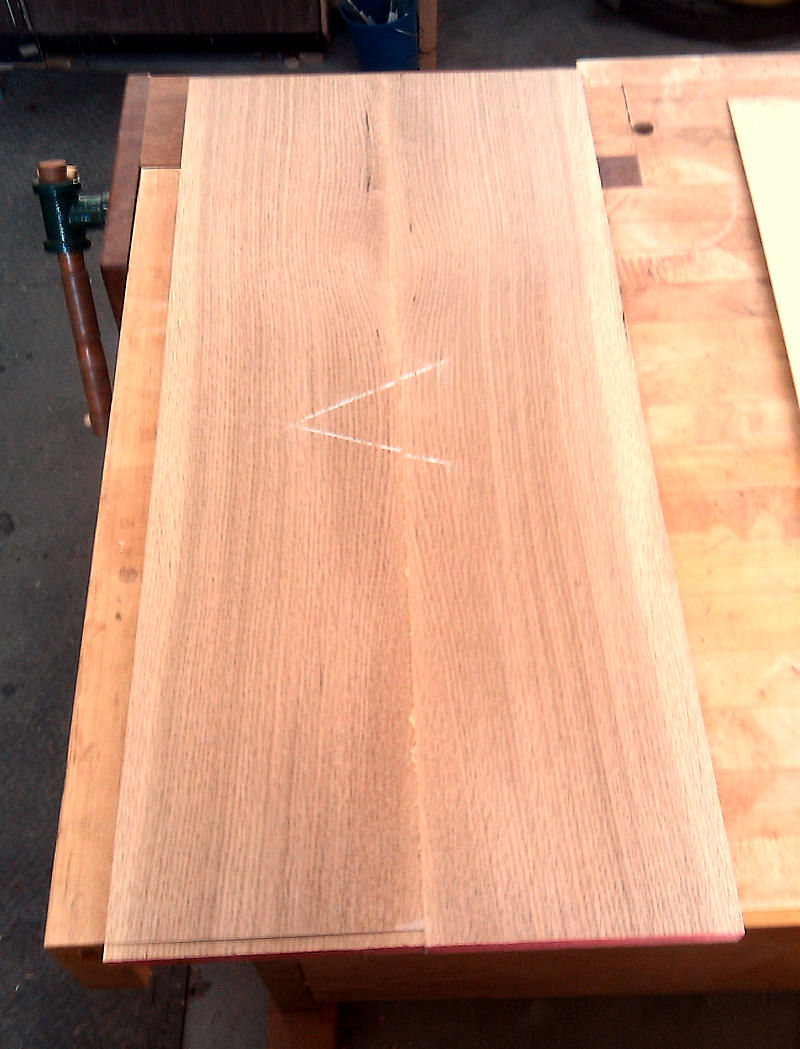
Glued up and ready to be cut to size.
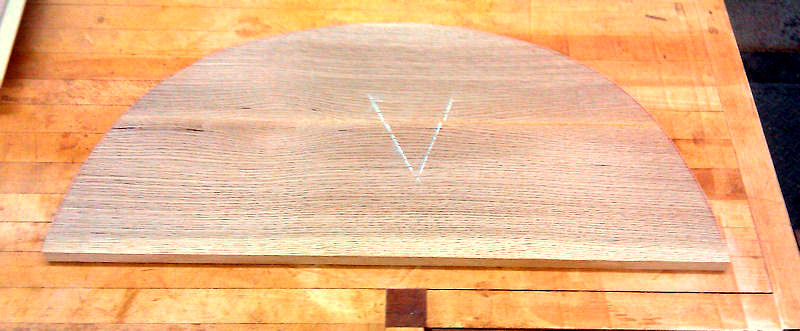
Using the template, the top is cut roughly to size on the bandsaw, then trimmed to exact size on the router table, using the template to guide the router. Later the edge will be profiled.
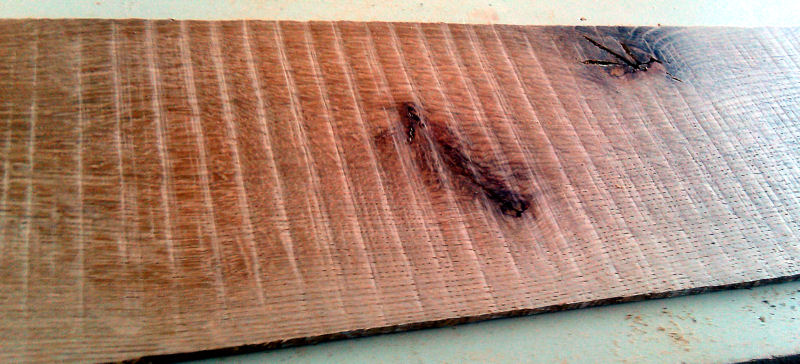
Now back to the apron lamination. The thin apron slices have been cut but as you can see from the image above, the bandsaw leaves a rough cut.
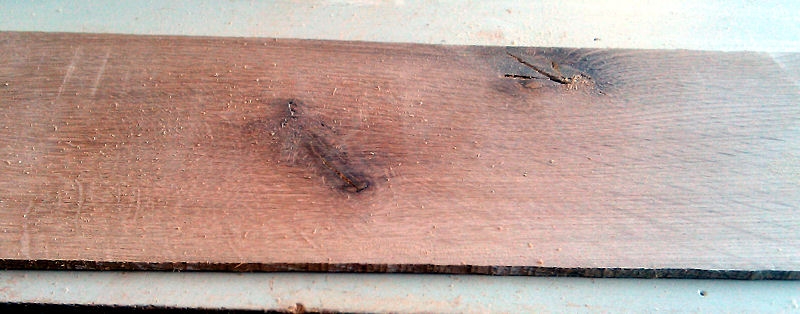
After planing and a little sanding, most of the bandsaw marks are already gone. This had to be done to both side of all the laminations. The knots will not be an issue on this apron.
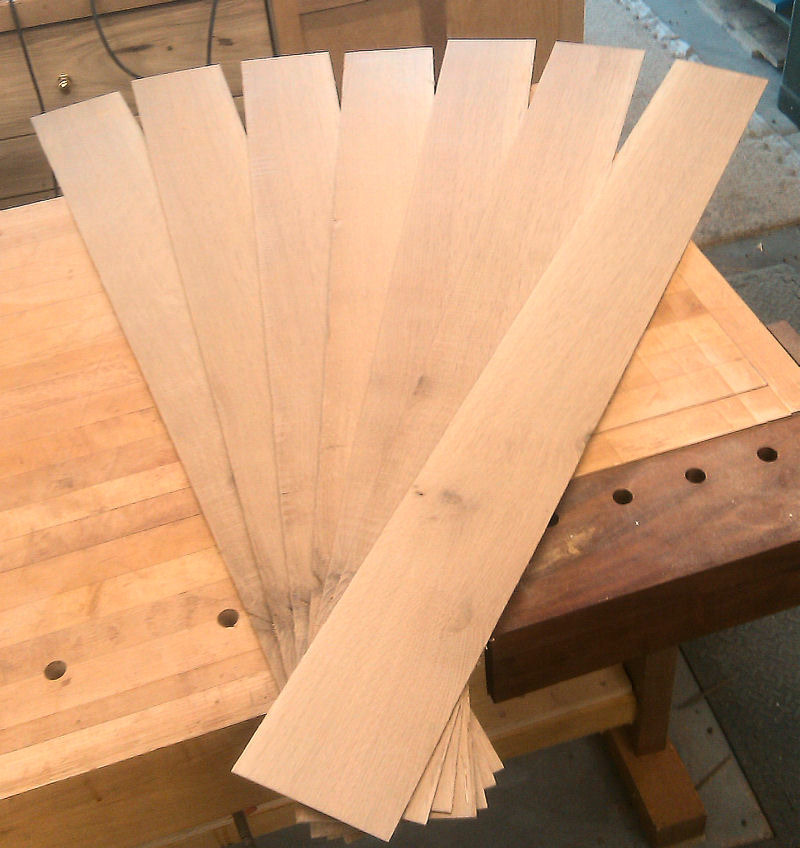
All the laminations are cut and surfaced. Glue-up to come. How exciting!

Okay, so here's the glue-up. All the laminations are coated in glue, aligned, put on the bending form and pulled into shape with a large number of clamps. This is the most nerve-wracking part of the whole project. Lots of glue, very little time to get it all in place.
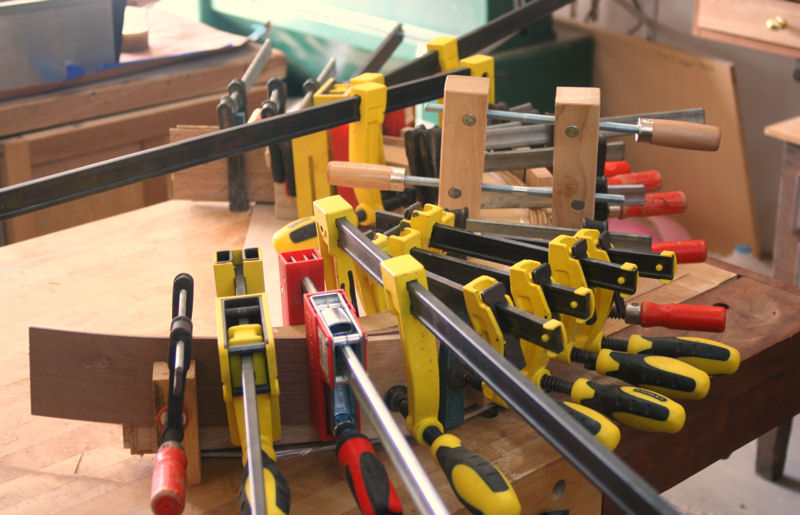
Different view, same process.
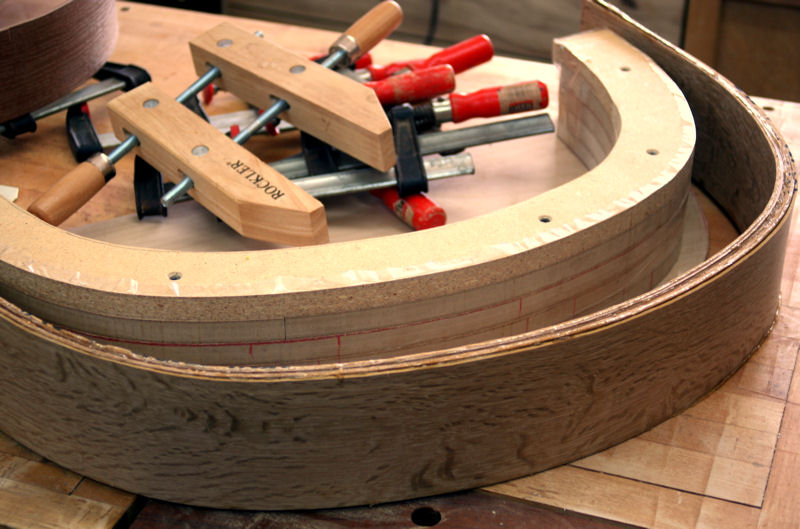
After the laminations dry for a day, the clamps are removed and the bent lamination, now a solid piece, is removed from the form.
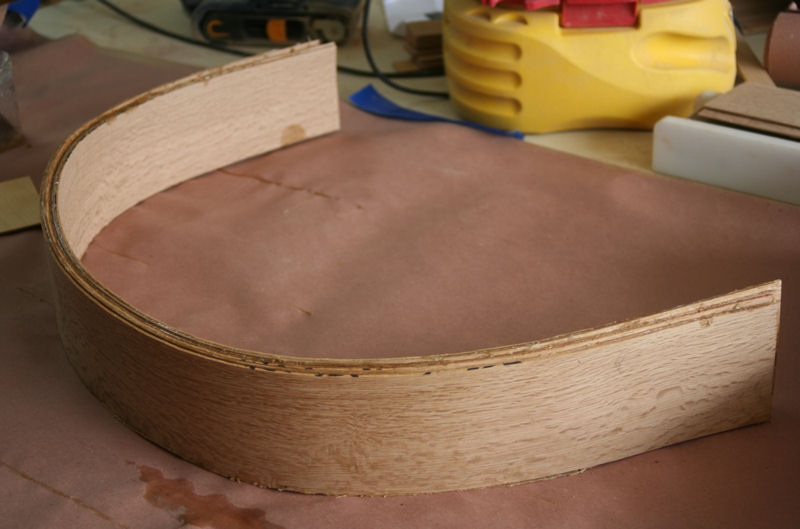
And voila, the apron is done (after a bit of trimming to size). Now the process moves faster because everything is built from this apron.
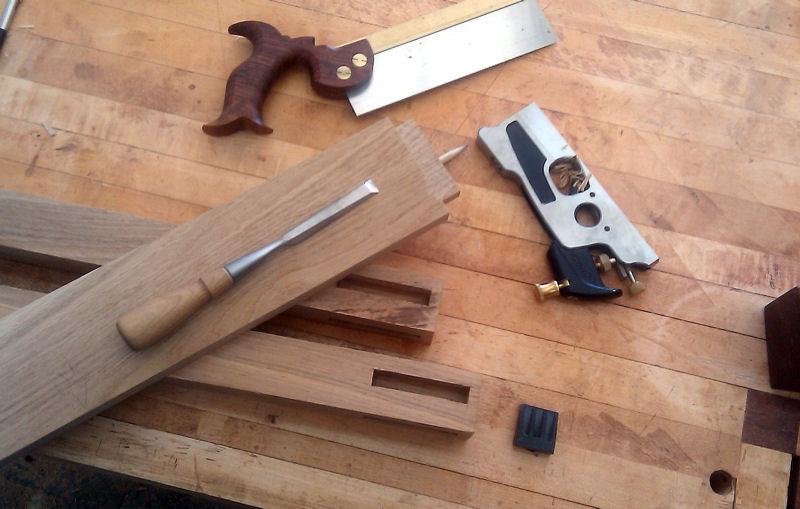
Mortise and tenon joinery is cut on the legs and the apron.
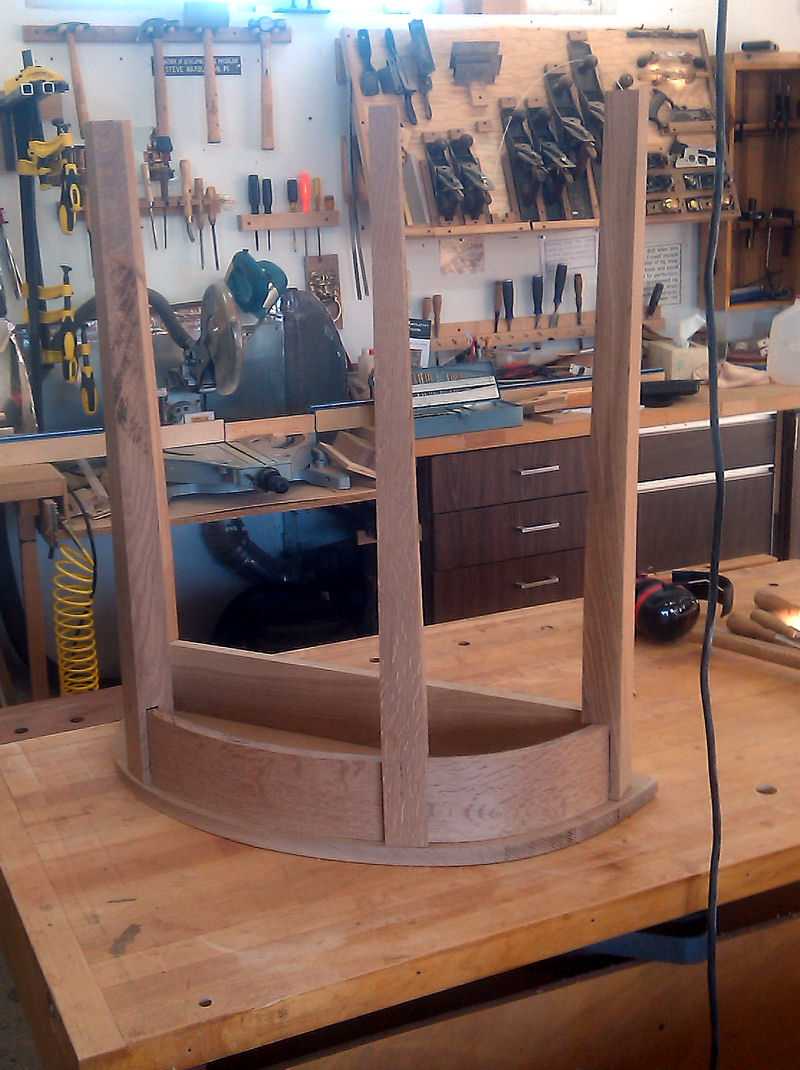
The table is dry fit to asses overall shape and proportion. Aw crap, I built it upside down!
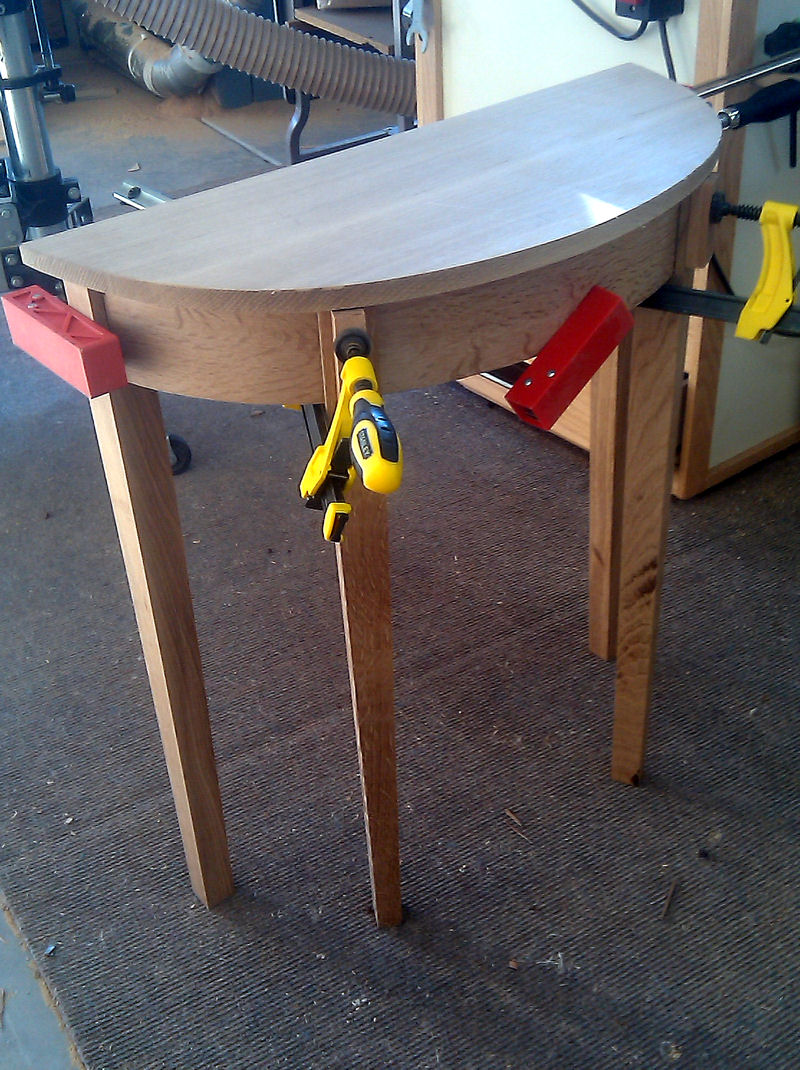
Okay, this is better. A little more tapering of the legs, cutting the arches into the side of the apron, adding the drawer to the front apron and then nothing left but finishing!